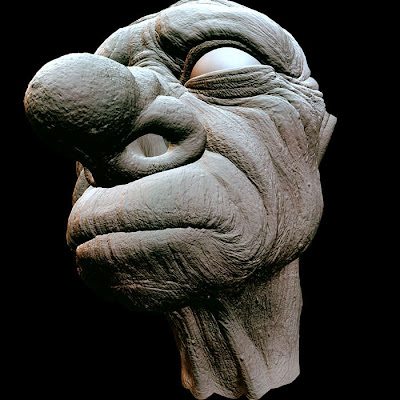
 Bump Mapping
Another powerful and useful method to add to texture mapping is bump mapping. This kind of map does not change the geometry in any way, but it tweaks the way the surface responds to lighting to give the impression of bumpiness based on an applied map. Only the luminance of the applied bump image is used to create the bump effect, so grayscale images are the norm for bump maps. A middle gray is considered flat, lighter areas are higher, and darker areas are lower. In areas where the bump map's brightness is changing, the surface will look like it's bumpy. Because the bump map effect will not affect the silhouette of a surface, you can't use bump mapping to simulate large features that you'll get near to or the effect will be ruined. For example, you wouldn't normally bump map a character's nose; however, you might bump map the pores on that nose. For many surfaces, bump mapping is perfect—fabrics, craggy surfaces, wood grain, or even metal vents, provided the camera doesn't get too close.
TIP
To see a bump effect, the material usually needs to have at least a minimal amount of shininess.
TIP
To see a bump effect, the material usually needs to have at least a minimal amount of shininess.
When you combine texture mapping and bump mapping artfully, you can get an extraordinary amount of detail from even fairly simple models. Artists often create these maps in a paint program, and carefully match the placement of the bump effects in the grayscale bump map to the corresponding colored areas in the color texture map. Maya uses the bump map's luminence to set the "height," with white being all the way "out" and black being all the way "in." If you try to use an image as its own bump map, it rarely works; the shiny areas appear as large bumps and darker areas that protrude look recessed. It's important to keep bump maps slightly soft; ultra–high-contrast black-on-white images do not work as well as softer images with gradations between the extremes.
Useful site to simply learn texturing:

No comments:
Post a Comment